I was inspired to write this tut from another I recently did and thoroughly enjoyed, Here. I don't feel mine is a copy simply because it is both done differently and the outcome is completely changed.
For this tutorial you will need a tube.
Simple Filters is the only outside plugin used.
I will call this one Intermediate.
Open the tube you wish to use, Shift+D to duplicate it, then close the original.
Choose a light color from your tube for the Foreground color and a Dark color for the Background.
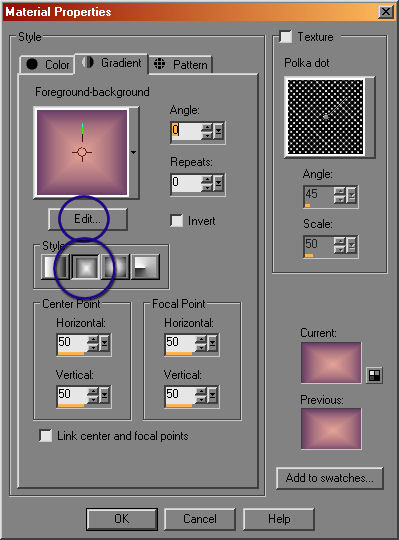
Click in your Foreground color box and then on the Gradient tab.
Click on Edit and choose the Foreground-Background option.
Click on the second Style button, Rectangular and then the following settings.
File-New. 500x500 Transparent, Raster.
Flood fill this with your gradient.
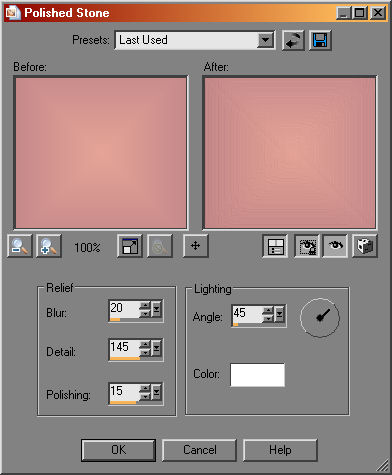
Effects-Texture-Polished Stone with these settings.
Layers-New Raster Layer.
Choose a contrasting color for your Background color in the Materials palatte.
With your empty raster layer highlighted, Selections-Select All.
****
Selections-Modify-Contract, by 10.
Floodfill with your new Background color by Right clicking.
Selections-Modify-Contract, by 10.
Hit the Delete key on your keyboard.
Effects-3d-Cutout, V&H at 0, Opacity 100, and Blur 15.
****
Repeat the steps between **** twice more, you should now have 3 borders.
Selections-None.
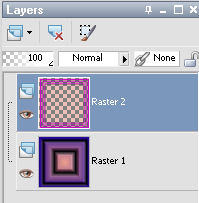
You should have something like this in your layer palette now.
With the borders layer highlighted, Layers-Duplicate.
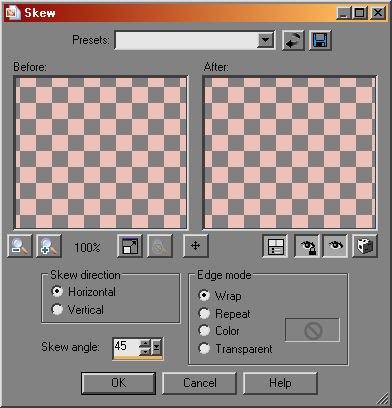
Effects-Geometric Effects-Skew with these settings.
Layers-Duplicate, Image-Mirror.
Close the eye on the bottom layer, and with any of the three border layers highlighted, Layers-Merge-Merge Visible.
Still with the borders layer highlighted, Selections-Select All.
Selections-Modify, Contract by 10.
Selections-Invert, hit the detete key on the keyboard.
Selections-None.
With your Selections Tool, choose the Custom Selection, settings at Top and Left 10, Right and Bottom 100.
Right click on the border layer in the layer palette and choose Promote Selection to layer.
Selections-None.
Image-Mirror, Image-Flip.
Effects-Simple Filters-Top Left Mirror.
Make sure your bottom layer is still closed, and a frame layer highlighted, Merge-Merge Visible.
Layers-Duplicate.
Layers-Merge Visible.
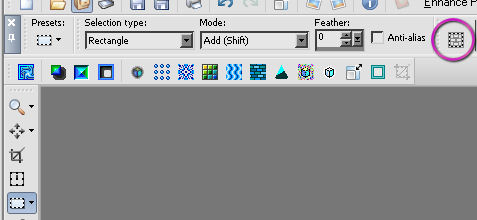
With your Magic Wand and these settings, choose the center opening of the frame.
Selections-Modify-Expand by 5.
Layers-New Raster Layer.
Drag it below the frame layer in the layer palette, or Layers-Arrange-Move Down.
You want it between the frame and the background.
Activate the Spider Web tube, Edit-Copy.
Activate your frame image and Edit-Paste into Selection.
Duplicate the Web layer, then Layers-Merge-Merge Down.
Open the eye on the bottom layer, but keep the web layer highlighted.
Activate the main tube you want to use, Edit-Copy.
Back to the frame image, Edit-Paste as a New Layer.
Image-Resize, this you will have to play with depending on the tube you use, for the top example here, I believe I resized her 85-90% (make Sure Resize All Layers is NOT checked!!), for the example below I needed to resize her 75%.
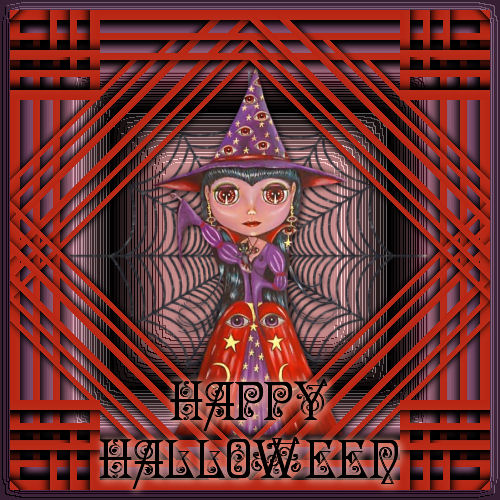
Give her a Drop Shadow, above, V&H 1, Opacity 100, Blur 3......OR
Make her Glow as below, Still a Drop Shadow, V&H 0, Opacity 100, Blur 30, color White.
Highlight the top layer and add text as desired.
File-Export-JPG Optimizer with the Default settings.
And you're done!!
I hope you had fun with it :-)