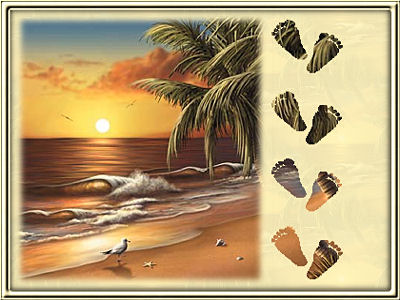
This Wonderful Graphic is by Alan Giana, visit his web site Here

I wrote this tutorial from play in PSP, any resemblance to other tutorials is purely coincidental.
I used PSP 10, but will work in other versions as well.
No outside filters were used.
The graphic I used by Alan Giana, and the edge mask by MS you can get Here.
I don't know who MS is, but she/he made some Wonderful masks. If anyone knows, please email me so I can give them credit.
You can get a good selection of them in the zip file Here.
I encourage you to be creative and work this tut to suit your desire :-)
I remind you to Save often.......
This is my favorite type stationery to make right now, the simple side border, although it works great as a Web Page background as you see here :-) You could also make a less wide strip and frame it for use as a tag.
1. To begin, open the graphic you choose in PSP, Shift/D to duplicate it, twice, minimize one, then close the original. To keep file size down, I like to keep my strips no higher than 300px, so resize the graphic to no more than 300px in height. Also open the mask. No need to duplicate the mask.
2. Now, go up to Layers-New Mask Layer-From Image.

3. In the new window, use the dropdown box to find the mask and click on it. Make sure you have Source Luminance checked and Invert mask data checked then click OK.

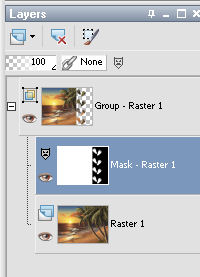
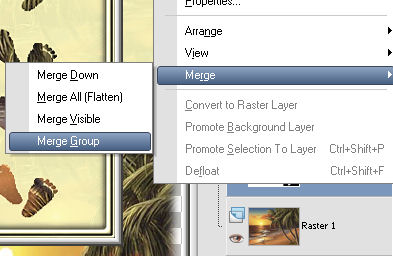
4. In PSP 10, in your Layer palate, highlight the mask, right click on it, and go to Merge-Merge Group.
In PSP8 and 9, you would right click on the mask layer, go to Delete, and then answer Yes to the window.
We're done with the mask, you can close it now if you wish.
5. Now we are going to play a bit :-)
**Tip** Are you using a Precise Cursor?
With PSP open, go to File-General Preferences
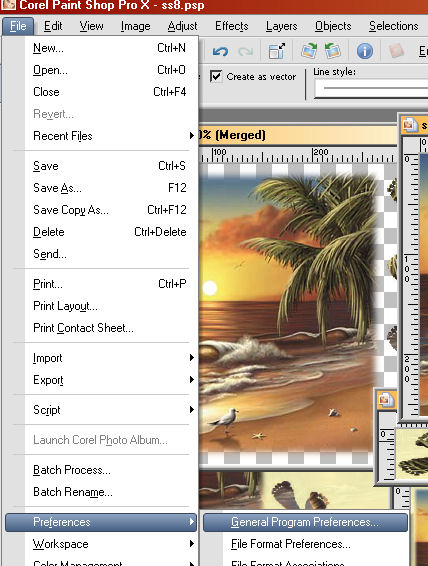
And then highlight Display and Caching, and check the Use Precise Cursor.
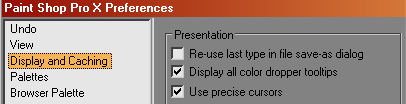
The center point of your new cursor is exactly where you are!
Now, put your cursor on the right edge of the square part of your graphic.
You can see where you are in the bottom right of your PSP window.
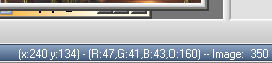
X=width, Y=height. Remember the X number.
6. Now, click on your Selection tool, and then the Custom Selection icon.
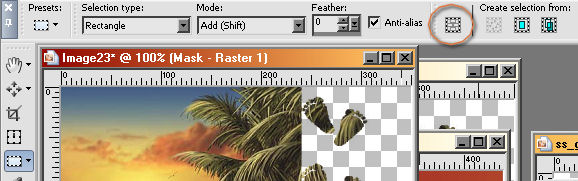
In the next window, set the Left to 0, Top 0, Bottom to the height of your graphic, and Right to the number your cursor showed you was the edge of the square part of the graphic.

7. Now you should have the Ants around the whole square part. In the layer palate, right click on the layer and choose Promote Selection to Layer. Keep selected! Now, highlight the first layer again and hit the Delete key.
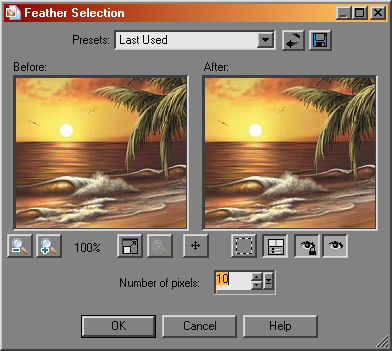
Highlight the top layer again and go to Selections-Modify-Feather.
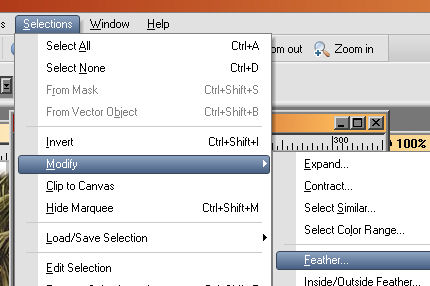
I have the number of pixels set at 10. Keep selected!
8. These next steps may seem confusing, but it will work out :-)
First, you will notice your ants are only showing on the right of your graphic. Right click the top of the graphic and click on Copy. Right click on top of the graphic again and click on Paste-Paste as New Image. You should now have a copy of the square part.
Go back to the original and Select-None. Click on the Custom Selection icon again, the settings should be the same (step 6). Hit the Delete key. Now, right click on the top of the graphic and choose Paste-Into Selection.
You should now have the feathered square part next to the decoration again :-)
Deselect, right click on one of the layers in the layer palate and Merge-Merge Visible.
Hard part done!! LOL
Now we need to make the background. Easy stuff :-)
9. Remember the second copy of the graphic you minimized? Bring it back up now. Resize it to 150px in height. This is assuming you are making your strip 300px in height. To make your strip seamless and flow smoothly, be sure the height can be divided evenly in 2, and make your background tile half the height. 400px high? background 200. 200 high? background 100. Get it??
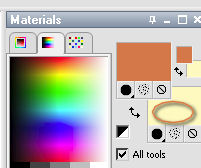
OK, you have your background tile resized. Pick a very light color from your graphic for your foreground color.
Go to Effects-Image Effects-Seamless Tiling.
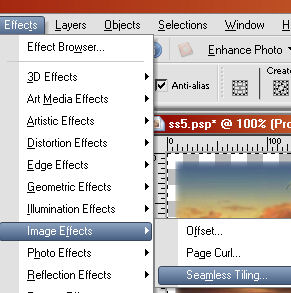
With these settings.
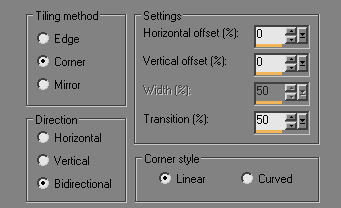
This would make a beautiful border or edge, but, it's too dark to write on and see.
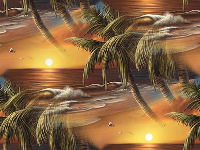
10. Add a new layer. Flood fill it with your light color, then lower the opacity just a little so the background shows through. I set mine at 90% opacity.

Right click on either layer in the layer palate and Merge-Merge All. As an option, you could use FMTile Tools at this point, Blend Emboss, to give it a little texture. Now, one more time, go to Effects-Image Effects-Seamless tiling, and apply again.
Now to put it all together!
11. Open a new image, 1280px wide and 300px in height.
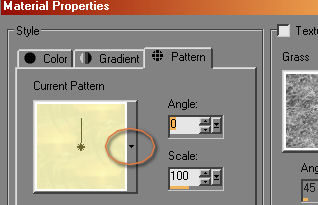
Click on the background in your materials palate and choose Pattern.
Make sure the Angle is at 0, and Scale at 100%, Texture Unchecked (texture here can mess up your seamless tiling!) Click on the little dropdown arrow at Current Pattern.
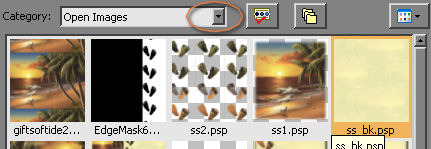
If you click on the Open Images in the dropdown box at Category in this window, you will see only the open images you have in PSP, find your background tile and click on it.
Flood fill the strip with the background pattern. To make sure we're still seamless, one more time go to Effects-Image Effects-seamless tiling.
12. Go to your masked image, right click on the top and Copy.
Right click on the top of your long strip and Paste-Paste as New Layer.
Using your Mover tool, move the graphic to the left side of the strip, and center it from top to bottom.
Here, you could add a drop shadow if you wish. I didn't because it blurred the space between the toes too much and made them hard to see.
Now, Merge-Merge All and File-Save As and your strip is done!! One last note.... :-) Go to File-Export-JPG optimizer and Save the file where you can find it. This cuts the file size way down!!


This page is copyright to Janie Shipman, March 26, 2007.
This site is best viewed at 1024x768 in Internet Explorer 6 or Higher.