
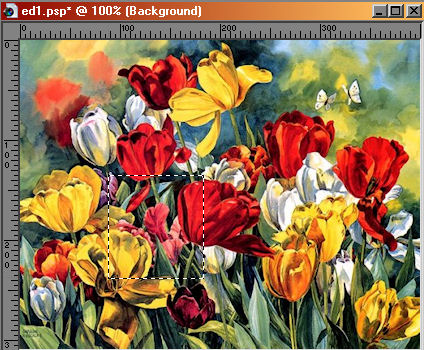
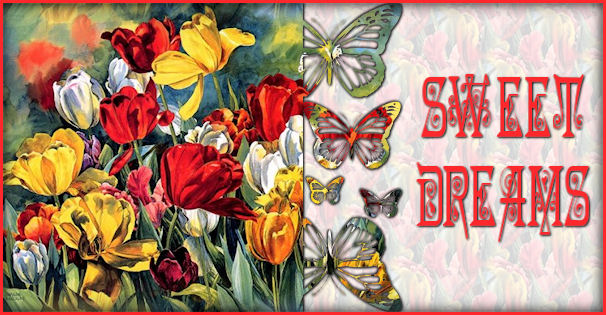
The Wonderful Artwork I used is by Sharon Hinckley, and is called Dancing Tulips.

Edge Mask Strip
This tutorial was written from my play in PSP, any likeness to another tutorial is completely accidental.
I used PSP12, but this will also work in 8 and above with little change
Paint Shop Pro, you can get Here.
The supplies I used are Here. Unzip the masks to your masks folder, or simply open them in PSP. Open the jpg in PSP.
I included several edge masks by Hooty for you to choose from :-)
There are no outside filters used in this tut, and I will call it beginners!
Creative suggestions.....the strip you make from this tut can be used many ways.....here I used it as a web page, I also made a stationery from it. It would also make a Wonderful Bookmark printed on card stock as gifts. Only your imagination sets the limits :-)
Ready?? Let's Play!!
With your graphic active, Shift-D to duplicate it and close the original. Image-Resize to 400px wide.
Choose a light color for your Foreground color and a Darker color for your background.
With your selection tool and these settings, make a selection about 100x100 in a "busy, colorful" part of your graphic.
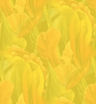
Edit-Copy. Edit-Paste as a New Image.
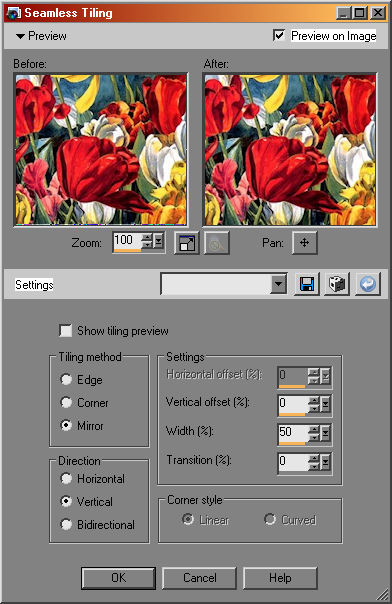
Effects-Image Effects-Seamless Tiling.
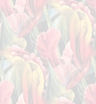
Layers-New Raster Layer. Floodfill this layer with your light Foreground color, or White, and lower the opacity to around 85%. Here you can see the 2 backgrounds I did and the difference, you will have to play and see which you like best :-)
When you're happy with it, Layers-Merge All, then Effects-Image Effects-Seamless Tiling.
Now, depending on what you are going to do with this tut will decide how wide to make your New Image. For this web page, and the stationery I made, I used 1500 for the width. If you wish to make a tag, probably 550 to 600 wide would work well. The height needs to be the same as the graphic you are using.
File-New Image 1500px by 309px.
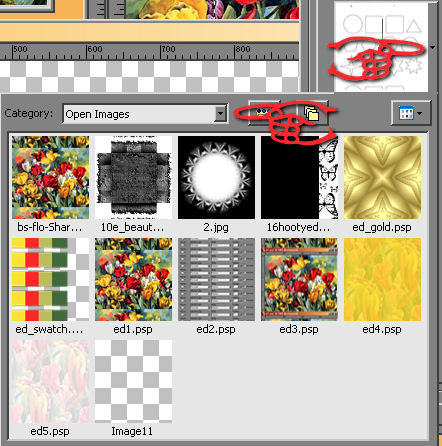
In your Foreground, set it to Pattern, and when you click on the little arrow to choose your pattern, if you choose the option Open Images in that drop-down window, you will see only the images open in your workspace. That makes your new little background pattern easy to use!!
Floodfill your new image with your pattern.
Effects-Image Effects-Seamless Tiling.
OK, Activate your flower graphic, the little ants are probably still marching from the pattern selection you made, Selections-None.
If you unzipped the masks to your masks folder, skip to the next step. If you have the masks open in PSP, Layers-New Mask Layer, From Image. In the drop-down window choose the 16hootyedgemask, Source Luminance, and Invert Mask Data checked.
To apply a mask from your masks folder, Layers-Load/Save Mask-Load Mask from disc. Locate the 16hootyedgemask in your file, Source luminance, Fit to canvas and Invert transparency checked.
In either case, once you have your mask applied, Layers-Merge-Merge Group. Layers-Duplicate, Layers-Merge-Merge Down.
Edit-Copy.
Activate your patterned filled image. Edit-Paste-As a New Layer. Don't Touch it!!
Cool Tip :-) Choose your mover tool, fingers off the clickers on your mouse, move the mouse to where the cursor is over the new layer, a solid part of it. Let go of the mouse, hand off of it, gently with your finger left click, don't move the mouse!!
Now, use the left arrow key on your keyboard, hold it down, to evenly move the layer to the left edge :-) Ain't that cool?? You can use all the arrow keys to move the layer into position. Anything you have "touched" with the mover tool you can move this way, a smidgen at a time. If you had acidentally moved the mouse when you clicked, just use the up/down arrows to line it up :-)
Give the masked layer a small drop shadow, I used V&H 1, Opacity 100, Blur 4. Repeat with V&H at -1.
Effects-Image Effects-Seamless Tiling, changing the settings to these.
Layers-Merge-Merge All. File-Export-JPG Optimizer, and save to a folder you keep your tut play in.
You're Done!! Well, except to Use what you made for something :-)
I hope you had fun, and learned a new trick or 2!!

My terms of use: links to this tut posted to groups or friends is fine. Do Not copy the tut itself in Any Way or post it anywhere else.
This page and tutorial are copyright to Janie Shipman, April 2010.