For this tutorial you will need a graphic.
Unzip DC Special to your plugins folder before opening PSP.
Open your chosen graphic in PSP. Shift+D to duplicate, then close the original.
Pick a light color from your graphic for the Foreground, and a darker color for your Background.
Also open the font, pattern and sparkle in PSP.
Activate your graphic.
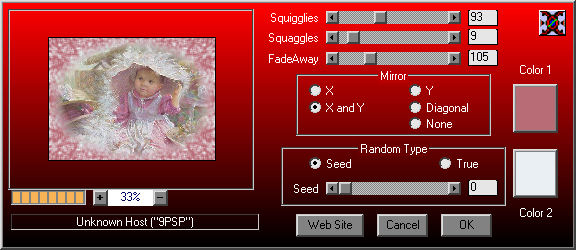
Effects-DC Special-Money with these settings.
And be sure and change the colors to your Foreground and Background colors.
Selections-Select All.
Selections-Float.
Effects-3d-Cutout with V & H at 0, Opacity 100 and Blur 15.
***Image-Add Borders, 5px, symetrical, Yellow for the color.
With your Magic Wand, Tolerance and Feather at 0, pick the 5px border.
Floodfill it with the Gold pattern.
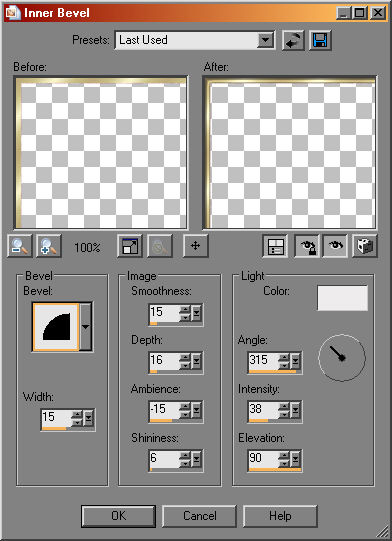
Effects-3d-Inner Bevel with these settings.
Selections-Select None.***
We will be repeating this Gold border I noted between the ***. That's where to start and stop :-)
Image-Add Borders, 5px, Background color.
***Repeat the Gold Border.***
Image-Add Borders, 30px, Background color.
With your Magic Wand, Tolerance and Feather at 0, pick the 30px border.
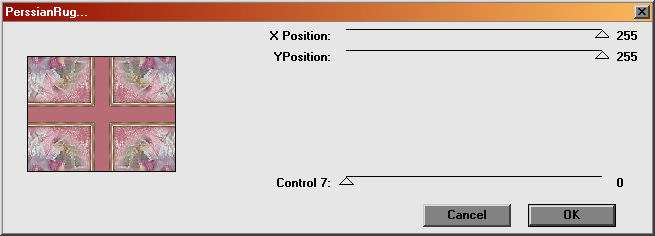
Effects-DC Special-PerssianRug with these settings.
Selections-Select None.
With your Magic Wand again, holding down the shift key, pick the solid ribbons in the border like this.
Still selected, Effects-3d-Inner Bevel with the same last settings used.
Selections-Select None.
Selections-Select All.
Selections-Modify, Contract by 30.
Selections-Invert.
Effects-3d-Inner Bevel, same settings.
Selections-Select None.
***Repeat Gold border.***
Image-Add Borders, 5px Background color.
***Repeat Gold border.***
Activate the Sparkle tube.
Edit-Copy.
Activate the Framed graphic.
Edit-Paste as a New Layer.
With your Mover tool, move the star to the upper left.
In your layer palatte, right click on the star layer and Duplicate.
Image-Mirror.
Again in the layer palatte, right click on the top star layer and Duplicate.
Image-Flip.
One last time, Duplicate the top star layer.
Image-Mirror.
Close the eye on your framed graphic layer, be sure you have one of the star layers active and then Merge-Merge Visible.
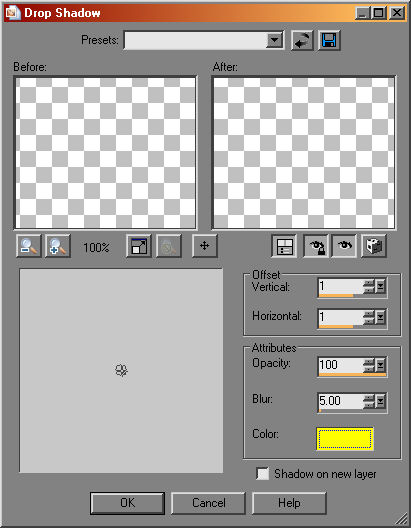
Effects-3d-Drop Shadow with these settings.
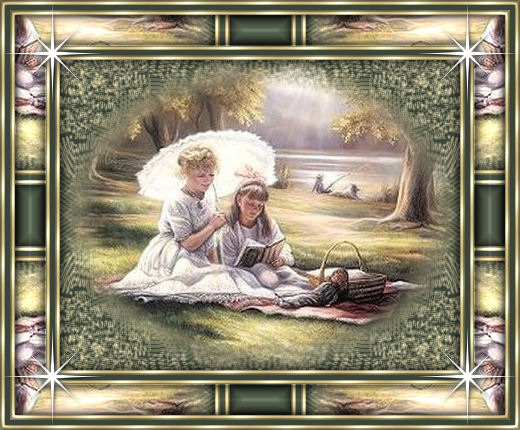
For the example at the top I used Yellow as the shadow color, in the example below Black.
Add text as you wish :-)
Layers-Merge-Merge All.
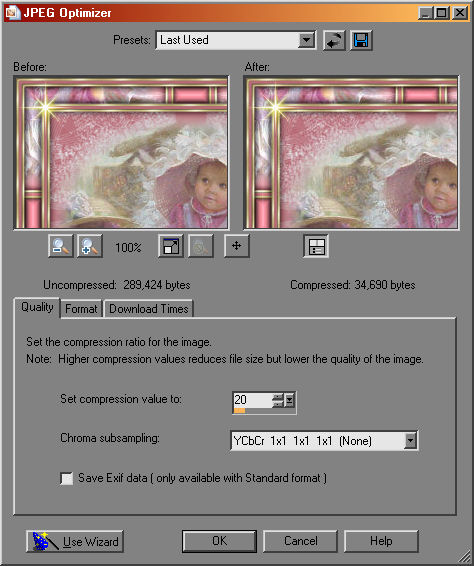
File-Export-JPEG Optimizer.
With the settings below.
Give it a name and save it to the desired folder :-)
You're Finished!!
I hope you enjoyed it :-)