This Wonderful Graphic is by Alan Giana, please visit his web site Here

I wrote this tutorial from play in PSP, and remembering how I first started making stationery :-) Any resemblance to other tutorials is purely coincidental.
To do this tutorial, you will need a graphic strip 1280px by 300px. There are many great tuts for PSP on how to do this.
I also wrote one in conjunction with this tutorial :-) You can find it Here
This is my favorite type stationery to make right now, the simple side border. I have moved on from using the OE Wizard to make stationery, but it was how I started, and still use on occasion.
1. To start, open Outlook Express.
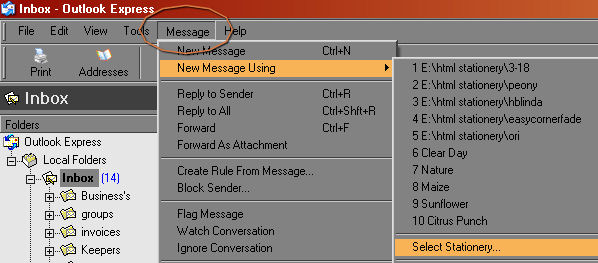
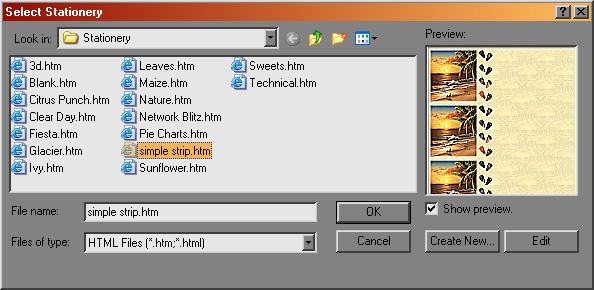
2. Go to Message-New Message Using-Select Stationery.
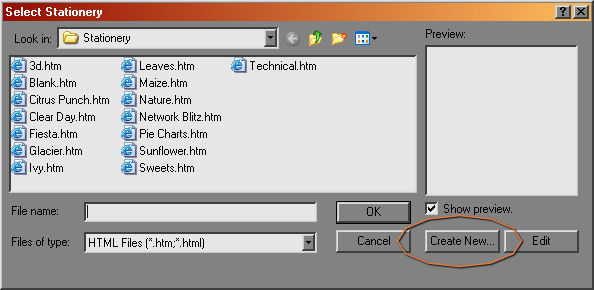
3. In the new window, click on Create New.
4. Click Next on the Welcome to the Wizard.
5. This next window has several options. Have the Picture boxed checked if it is not. Click on the Browse button to locate the strip you want to use. You want the Position at Top and Left. Tile needs to be Vertically. Leave the color at Default.
You will see how your stationery is going to look in the Preview Window on the right. Click on Next when you are done.

6. The next window you use the dropdown boxes to choose your font, size and color.
One item to note here. If you have fancy fonts installed, which will show up in your dropdown box, if the receiver does not have that font installed, they will see a Windows standard font, probably Arial.

You will see a Preview of your font, on the right of the window. When you are happy, click Next.
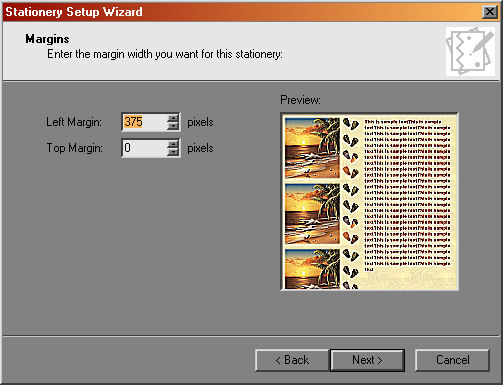
7. The next Window sets the text margin. For my strip, I set the left margin at 375. You can see where your text will be on the preview panel on the right. When you are happy with it, click on Next.
8. The last window is where you name your stationery :-) This choice is completely yours. LOL

Now, when you go back to Message-New Message Using-Select Stationery, that window will have your new stationery there to use!
I will take this a step further here :-)
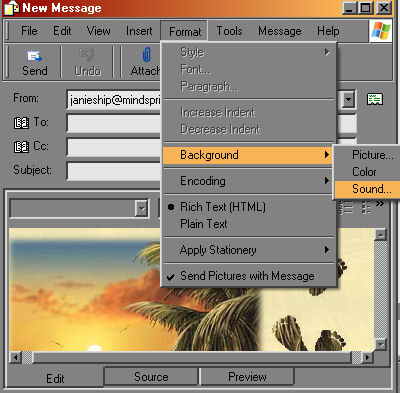
When you use your stationery, before you begin to type info in, go up to Format-Background-Sound.
In the next window, Browse to your midi files and find the one you want. Click on the Continuously button and then OK.
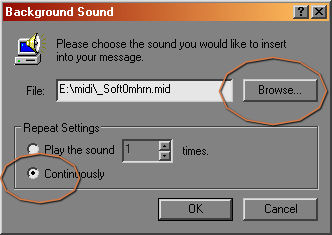
You're good to go now!!


This page is copyright to Janie Shipman, March 26, 2007.
This site is best viewed at 1024x768 in Internet Explorer 6 or Higher.